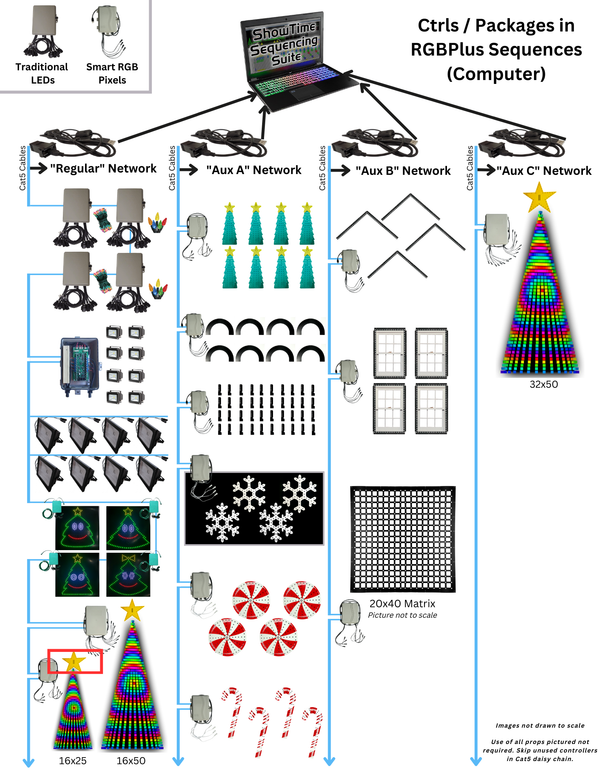
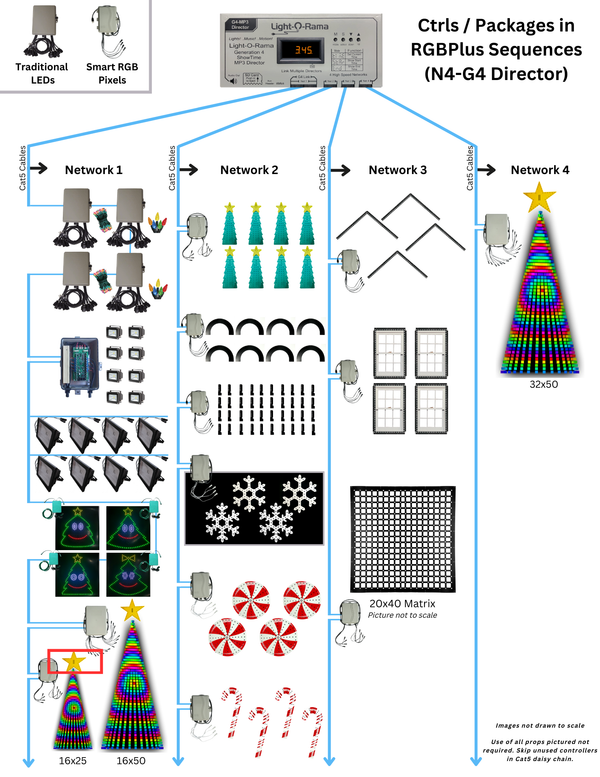
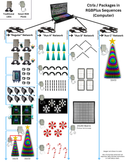
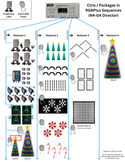
What can your display look like with our CPC and Prop Packages? Take a look!
Add this 18" star to your existing 6'6" Light-O-Rama pixel tree or other small tree of your own design (less than 10ft tall) on the Regular Network/Network 1. This star is designed to add on to pixel trees less than 10ft tall where the pixel strand's pixels end at either the BASE or TOP of the pixel tree.
To use this star with an existing 16x25 Pixel tree, you must use the Hardware Utility on the computer to change your Pixie8's setting to allow 100 pixels per port instead of the default 50 pixels or else your star will not light. http://www.lightorama.com/help/configuring_units.htm
S5.6.8 or higher is recommended for easiest use for personal sequence creation; a Pro license level is required to use Pixel Motion Effects. RGBPlus sequence requirements are listed per purchase page.
Our RGBPlus sequences contain effects for this star; our traditional and deluxe sequences do not. If you purchased any 'Traditional' or 'Deluxe' SD card, your card does NOT have effects for this star. You must have an RGBPlus layout SD card or individually downloaded sequence for this star to have effects (or you can create your own sequence.)
Included:
- Coro Star 18" (50 Node)
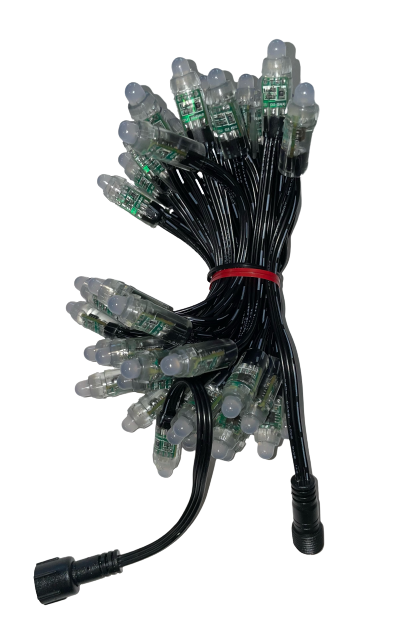
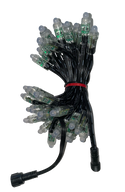
- 50 Ct Black Pixels (4" spacing). LOR style end connector.
- Dangle Not Included. This pixel strand should connect to another pixel strand from your Mega Tree.
- Pixel Extension - Black (10ft)
Not Included:
- Mounting Materials to attach star topper to the top of the pixel tree
Kit Assembly
Pixels are not pre-pushed. Assembly is to be completed by the customer.
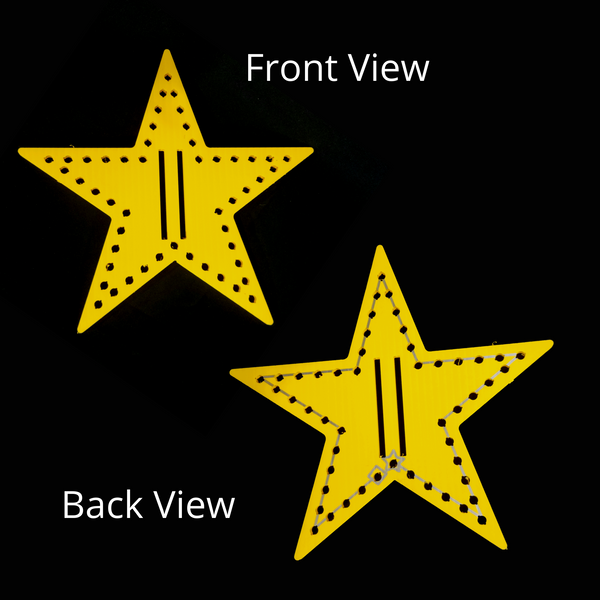
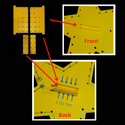
The star should be oriented so that the two vertical attachment slats are straight up and down. When viewing the star from the back, the "star" for "start" on the pixel path should be in the "valley" at the bottom of the slats. From the back view, the pixel path will run counterclockwise.
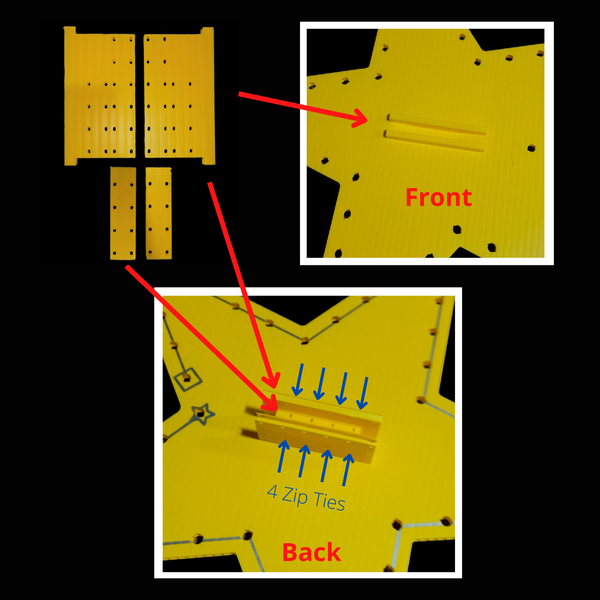
After installing your pixels, install the two larger pieces of the coro clamp in from the front side of the star. The fit is tight so it will stay in place. Next, insert the two filler plates on the back side of the star above the bottom pixels and use 4 zipties (not included) to hold all four pieces of the coro clamp together. This will lock in the coro clamp to the star.
If using the star with a 16x25 Pixel Tree Kit (strands end at the BOTTOM due to a "fold"), connect the pixel strand of the star to Strand #8 of your pixel tree (the 8th strand that has been folded to create "columns 15 and 16" on your tree). The Unit ID in the preview editor should be 47 (the ID of the last port on the Pixie8 for the tree), and the starting circuit should be 151.
To use this start with an existing 16x25 Pixel tree, you must change your Pixie8's setting to allow 100 pixels per port instead of the default 50 pixels or else your star will not light. http://www.lightorama.com/help/configuring_units.htm
DO NOT use more than a 10 foot pixel extension if you are connecting the star to a strand of pixels on a Pixel Tree and not using a separate controller for the star.
Our prop packages can be used in a display with custom sequencing as long as the controller's Unit IDs do not conflict with any other Unit ID assignments on the network, and network limits have not been exceeded.

