Included for use with a 16x50 Pixel Tree Kit with Bullets, Squares, or LumaDomes (Where Pixel Tree light strands are STRAIGHT and end at the tree TOP; they can be directly continued to the next strand):
- Coro Star 32" (50 Node)
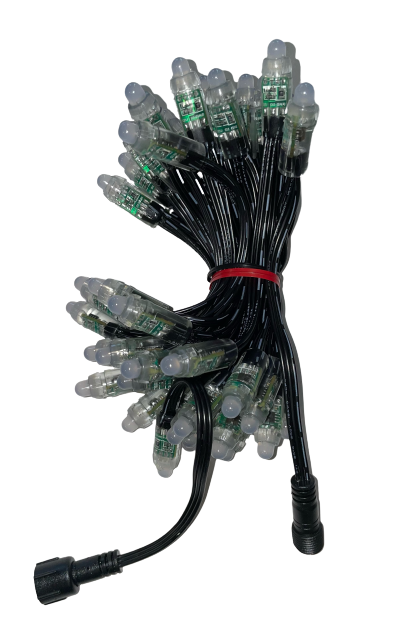
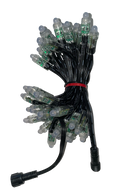
- 50 Ct Black Pixels (4" spacing). LOR connectors.
- NOTE: If purchasing a Modular Tree Frame, purchase a 10ft Extension with this star. The star is assembled to the topper with the frame laying on the ground, before the tree is tilted into position.
Additions to above for use with a 32x50 Pixel Tree Package* with any lights (Where Pixel Tree strands are FOLDED and end at the BASE), or with a 16x50 Tree Kit with RIBBONS (where strands cannot be continued end to end):
- Pixie2 Assembled Controller - Black - LOR Dangles Included
- Optional - Pixel Extension - Black or Green {dependent on stock availability) (15ft)
- Note: With a Modular Tree Frame, the star mounts before the frame is tilted up in position. A 10ft extension is strongly recommended to eliminate the need for a ladder.
- Optional - Cat5 Cable (10ft)
*You should purchase the additional Pixie2 if you are purchasing a 32x50 tree package with 3" or 4" spacing (12' or 16' tall). An extension between light strands cannot exceed 15'.
*If you are using 2" spacing for your 32x50 tree, we still recommend a Pixie2 controller for easiest Star setup (and to match our defaults), but you CAN connect it to the 16th folded strand with a 15' extension, as long as you understand how to alter the preview settings to match.
Not Included:
- Mounting Materials to attach star topper to the top of the pixel tree
General CPC Package Information
Our "CPC" packages include the "Coro, Pixels, and Controller" you need to easily add smart pixel props into to your display. These packages can be connected to an existing network of Gen3 Light-O-Rama Controllers, or used on a separate network within the same show. A Cat5 cable is required to connect this controller to existing controllers in a multi-controller network, or a computer/showtime director if it is the only Unit in the show.
S5.6.8 or higher is recommended for easiest use for personal sequence creation; a Pro license level is required to use Pixel Motion Effects. RGBPlus sequence requirements are listed per purchase page.
Our RGBPlus sequences contain effects for this star; our traditional and deluxe sequences do not. If you purchased any SD card before October 1, 2022, your card does NOT have effects for this star. You must have an RGBPlus layout SD card or individually downloaded sequence for this star to have effects (or you can create your own sequence.)
The Assembled Pixie2 controller (or "CCR II") includes the controller board and power supply wired and mounted in a weather-proof, ventilated and UL listed enclosure case. The power supply also is UL listed. This is a 12 Volt controller system compatible with 12V RGB smart pixel strands and devices. Dumb RGB devices or standard LED / Incandescent lights cannot be plugged into the ports of this controller.
Package Assembly
Pixels are not pre-pushed. Assembly is to be completed by the customer.
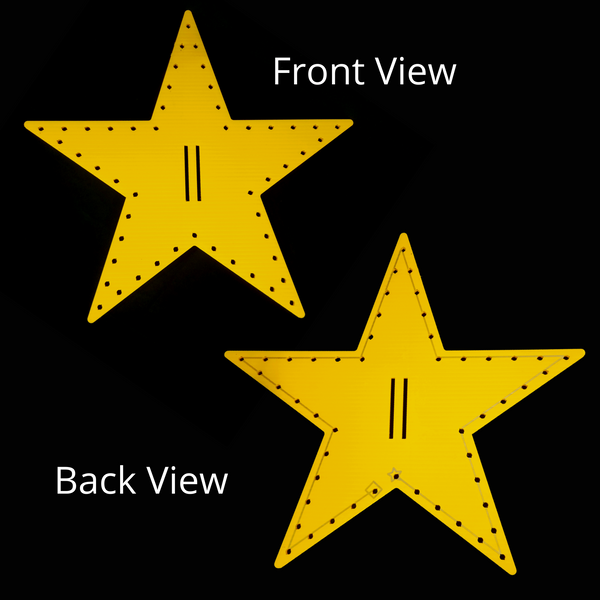
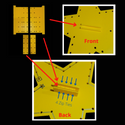
The star should be oriented so that the two vertical attachment slats are straight up and down. When viewing the star from the back, the "star" for "start" on the pixel path should be in the "valley" at the bottom of the slats. From the back view, the pixel path will run counterclockwise.
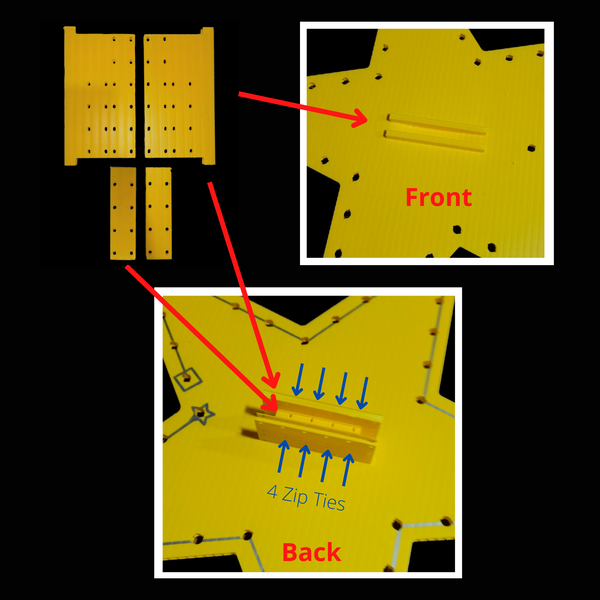
After installing your pixels, install the two larger pieces of the coro clamp in from the front side of the star. The fit is tight so it will stay in place. Next, insert the two filler plates on the back side of the star above the bottom pixels and use 4 zipties (not included) to hold all four pieces of the coro clamp together. This will lock in the coro clamp to the star.
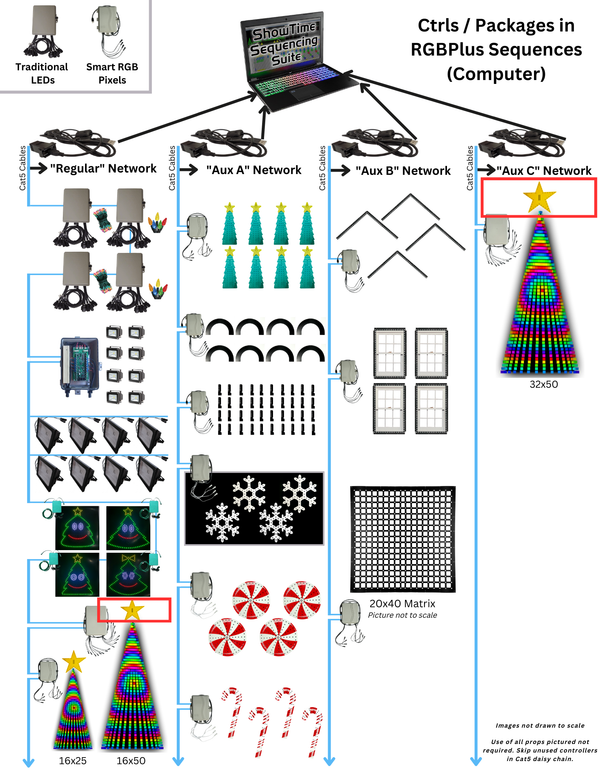
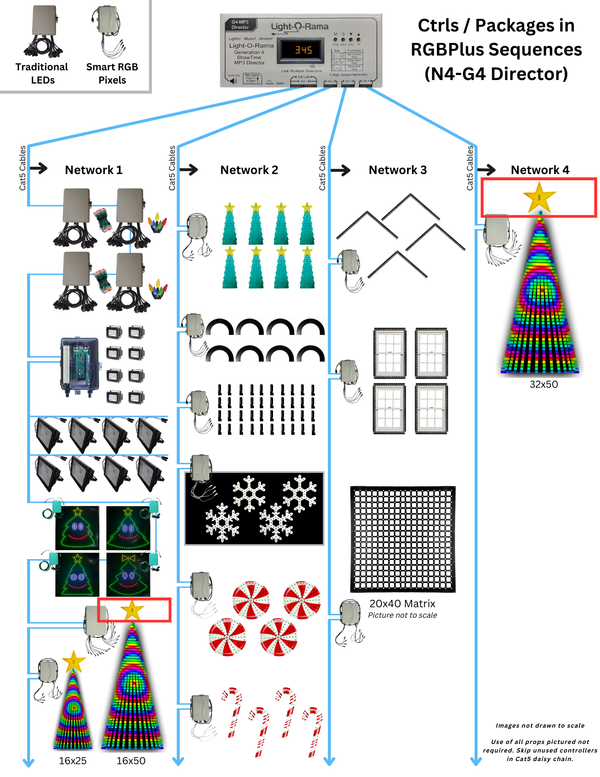
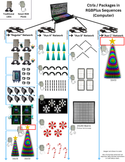
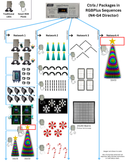
If using the star with a 16x50 Pixel Tree Kit made with squares or bullets (strands end at the TOP), connect the pixel strand of the star to Strand #16 of your pixel tree. The Unit ID in the preview editor should be 7F (the ID of the last port on the Pixie16 for the tree), and the starting circuit should be 151.
To use this star with a ribbon tree (pixels cannot be connected end to end), a separate Pixie2 controller is required. Set the Base Unit ID of the Pixie2 to 80, then MODIFY the default RGB Preview to set the 16x50 Tree's star to the Regular Network, Unit ID 80, Start Circuit 1.
WARNING: DO NOT use more than a 10 foot pixel extension if you are connecting the star to the 16th strand of pixels on the Pixel Tree.
If you are using the star with a 32x50 Pixel Tree Kit (strands end at the BOTTOM), set your Pixie2 controller to a base Unit ID of 80 (the ports on the controller will therefore be 80 and 81). Connect the star to the first port of the Pixie2 by using an extension to reach from your Pixie2 controller on the ground to the star at the top of your tree.
Our CPC packages can be used in a display with custom sequencing as long as the controller's Unit IDs do not conflict with any other Unit ID assignments on the network, and network limits have not been exceeded.

